


How to implement SEO friendly microdata in your Rails views?
This article talks about microdata that can be used in your existing .erb files to provide info as per schema.org

Hello world,
I recently worked on revamping SEO of one of the public facing website. The website is using Rails 8 with Ruby 3.4 ✨

Here is a short snippet showing how it will look. This one is a schema called Person about the blog's author. I use this inside the blog’s show view.
We use microdata to structure a webpage's content. Client apps and web crawlers can then understand these structured pages. Schema.org provides a vocabulary for structuring data. This vocabulary can be used in different ways. Here, we are going to use Microdata—simple attributes on any HTML element. Alternatives to Microdata include LD-JSON and RDFa.
Microdata is part of the WHATWG HTML Standard and is used to nest metadata within existing content on web pages. —mdn web docs
Our example app (blogging app)
Skip this section if you already have an app. The next section is about adding microdata into views.
Let’s consider a small blog app built using rails so that you can follow along. You can create an entire app in these few commands (using rails 8)
rails new blog_app --css tailwind
cd blog_app
rails action_text:install
rails g scaffold Blog title:string! status:string! content:rich_text
rails db:migrate
That should do the basics. Now you run the server and see your blogs
bin/devYour blogs will be available at http://localhost:3000/blogs

Woohoo 🎉 The blog is live. Did you notice that CSS seems broken here? Let’s fix that. In your `application.tailwind.css` file, we need `@import "tailwindcss";` so that the app will use the tailwind CSS classes properly.

Save the file and reload the browser to see a much better view.

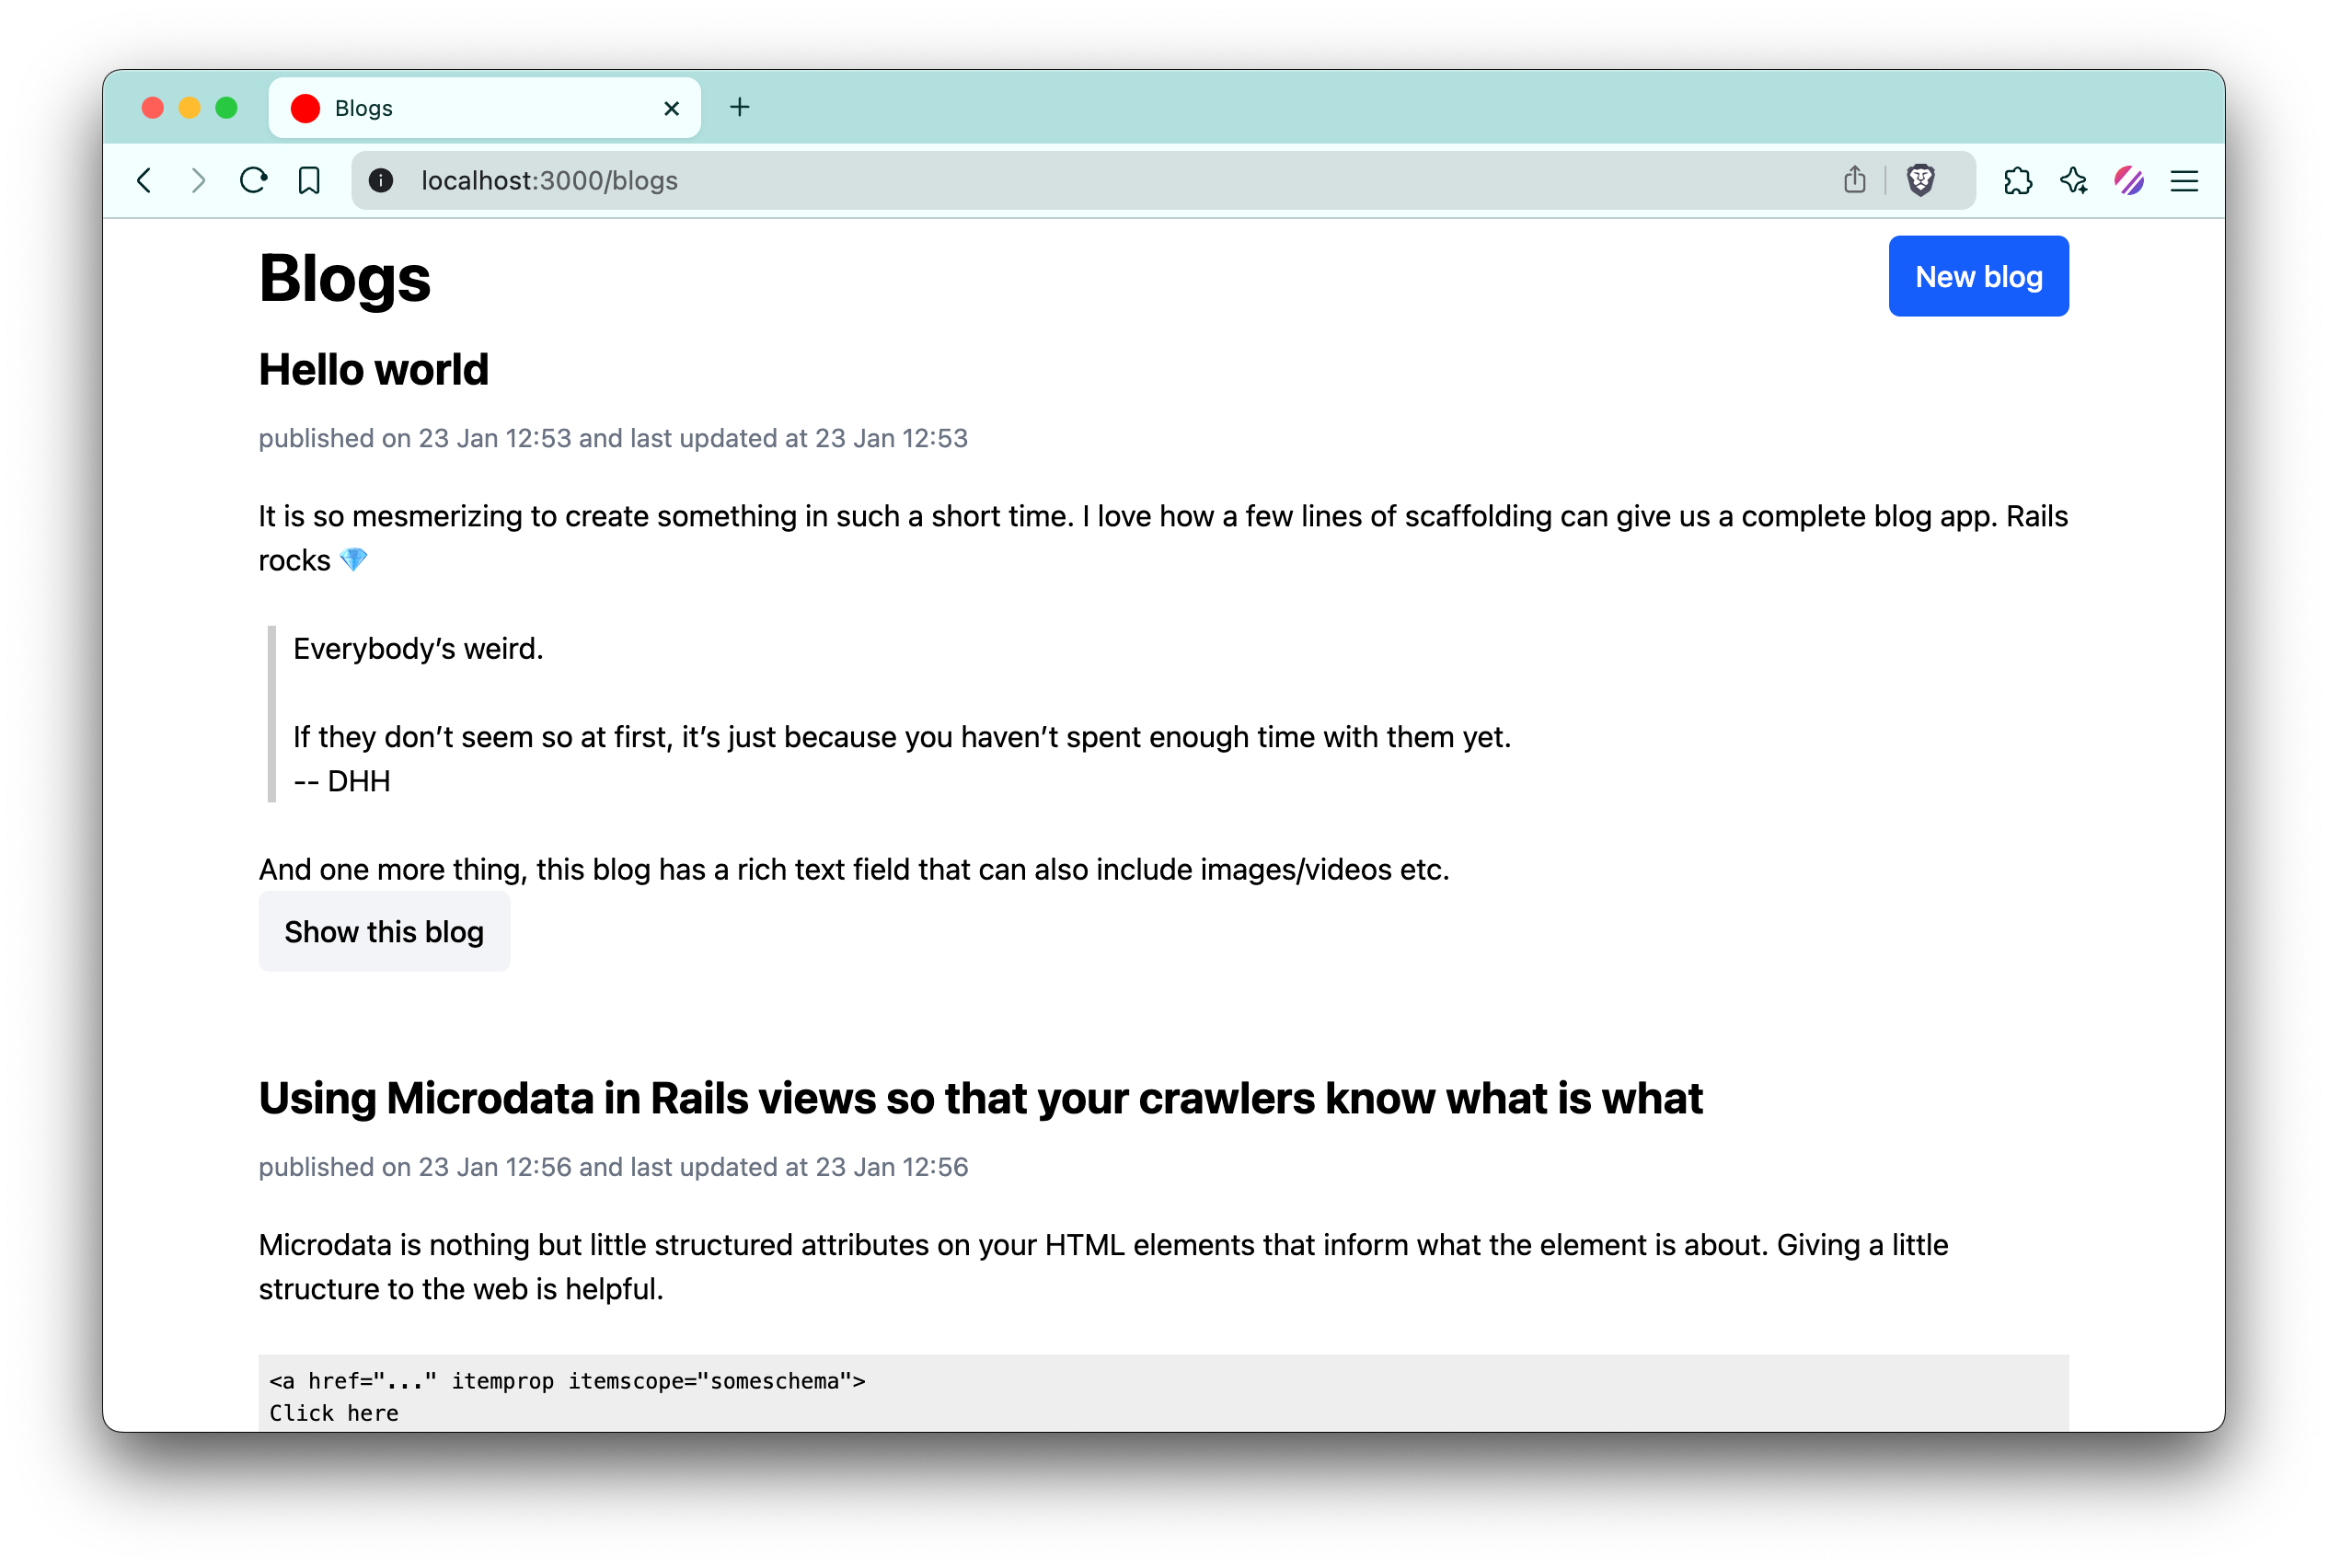
Amazing! Now let us create a few new blogs and we are ready to continue on our SEO journey. Here is how my small Blog app looks after a little restyling and adding a few blogs.
Adding microdata to the blog’s show page
Resume here if you skipped the above section of creating a blog app. This section is about Microdata.
Let’s see what we have in the vocabulary provided by Schema.org. You can visit https://schema.org/docs/schemas.html and search for “blog”. It will show relevant terms that we can use.

Click on Blog. On this page, it is mentioned that individual blog posts are actually called BlogPosting. So that’s what we will use on our blog’s show page. Notice that in default scaffolded views, we have a common partial view called `_blog.html.erb`. This is the view we will be updating.
Here is my current .erb file looks before adding any Microdata:

Looking at schema.org’s BlogPosting type, we can provide microdata in our view for the following properties
articleBody — this will be our blog.content
headline — this will be our blog.title
creativeWorkStatus — this will be our blog.status
dateCreated — this will be blog.created_at
dateModified — this will be blog.updated_at
url — this will be our blog_url(blog)
Optionally, we can also give a few other info that are easy for us to get from our blog model such as wordCount, abstract, copyrightYear, datePublished, thumbnailUrl, etc.
The structure of Microdata will nicely follow our existing HTML (ERB) hierarchy. To visualize it, we will end up with this overview:

This overview is looking so beautiful already. Note that we used different HTML tags as suitable for the blog article. Even without microdata attributes (itemprop, content, itemscope, etc), we get a nice understandable webpage. PS: We used tag <meta> for specifying the URL because we didn’t want to show that URL on the page.
Here is the complete _blog.html.erb file after adding microdata

Adding metadata through Microdata doesn’t change anything visually on our blog but it adds structure and meaning to data. This then can be understood by search engines and accessibility features of browsers. Open your blog in the browser and see its page source (right-click and select “View Page Source” or “Inspect”). You can see that our HTML is nicely decorated with microdata.

Validating microdata
Once you have views updated with microdata, you can easily validate the rendered HTML in tools provided by Google and Schema.org
Here, I am using a validator by schema.org. On the tool, select the “code snippet” tab and paste your generated HTML. You can copy the html element from the browser’s inspect tool.

Then run the test and see the outcome. Sometimes you will see critical and non-critical errors. You can update the microdata to fix those (if any).
In the next article, I’ll explain how I used microdata to improve my website's search results. Until then, happy coding!