

How to setup VS Code to use Ruby in Jupyter Notebook
How to setup VS Code to use Ruby in Jupyter Notebook
Jupyter notebook that evolved from the Python ecosystem supports Ruby as one of the languages. In this post, I'll share how you can set it up for your self and how I use it

Hello world,
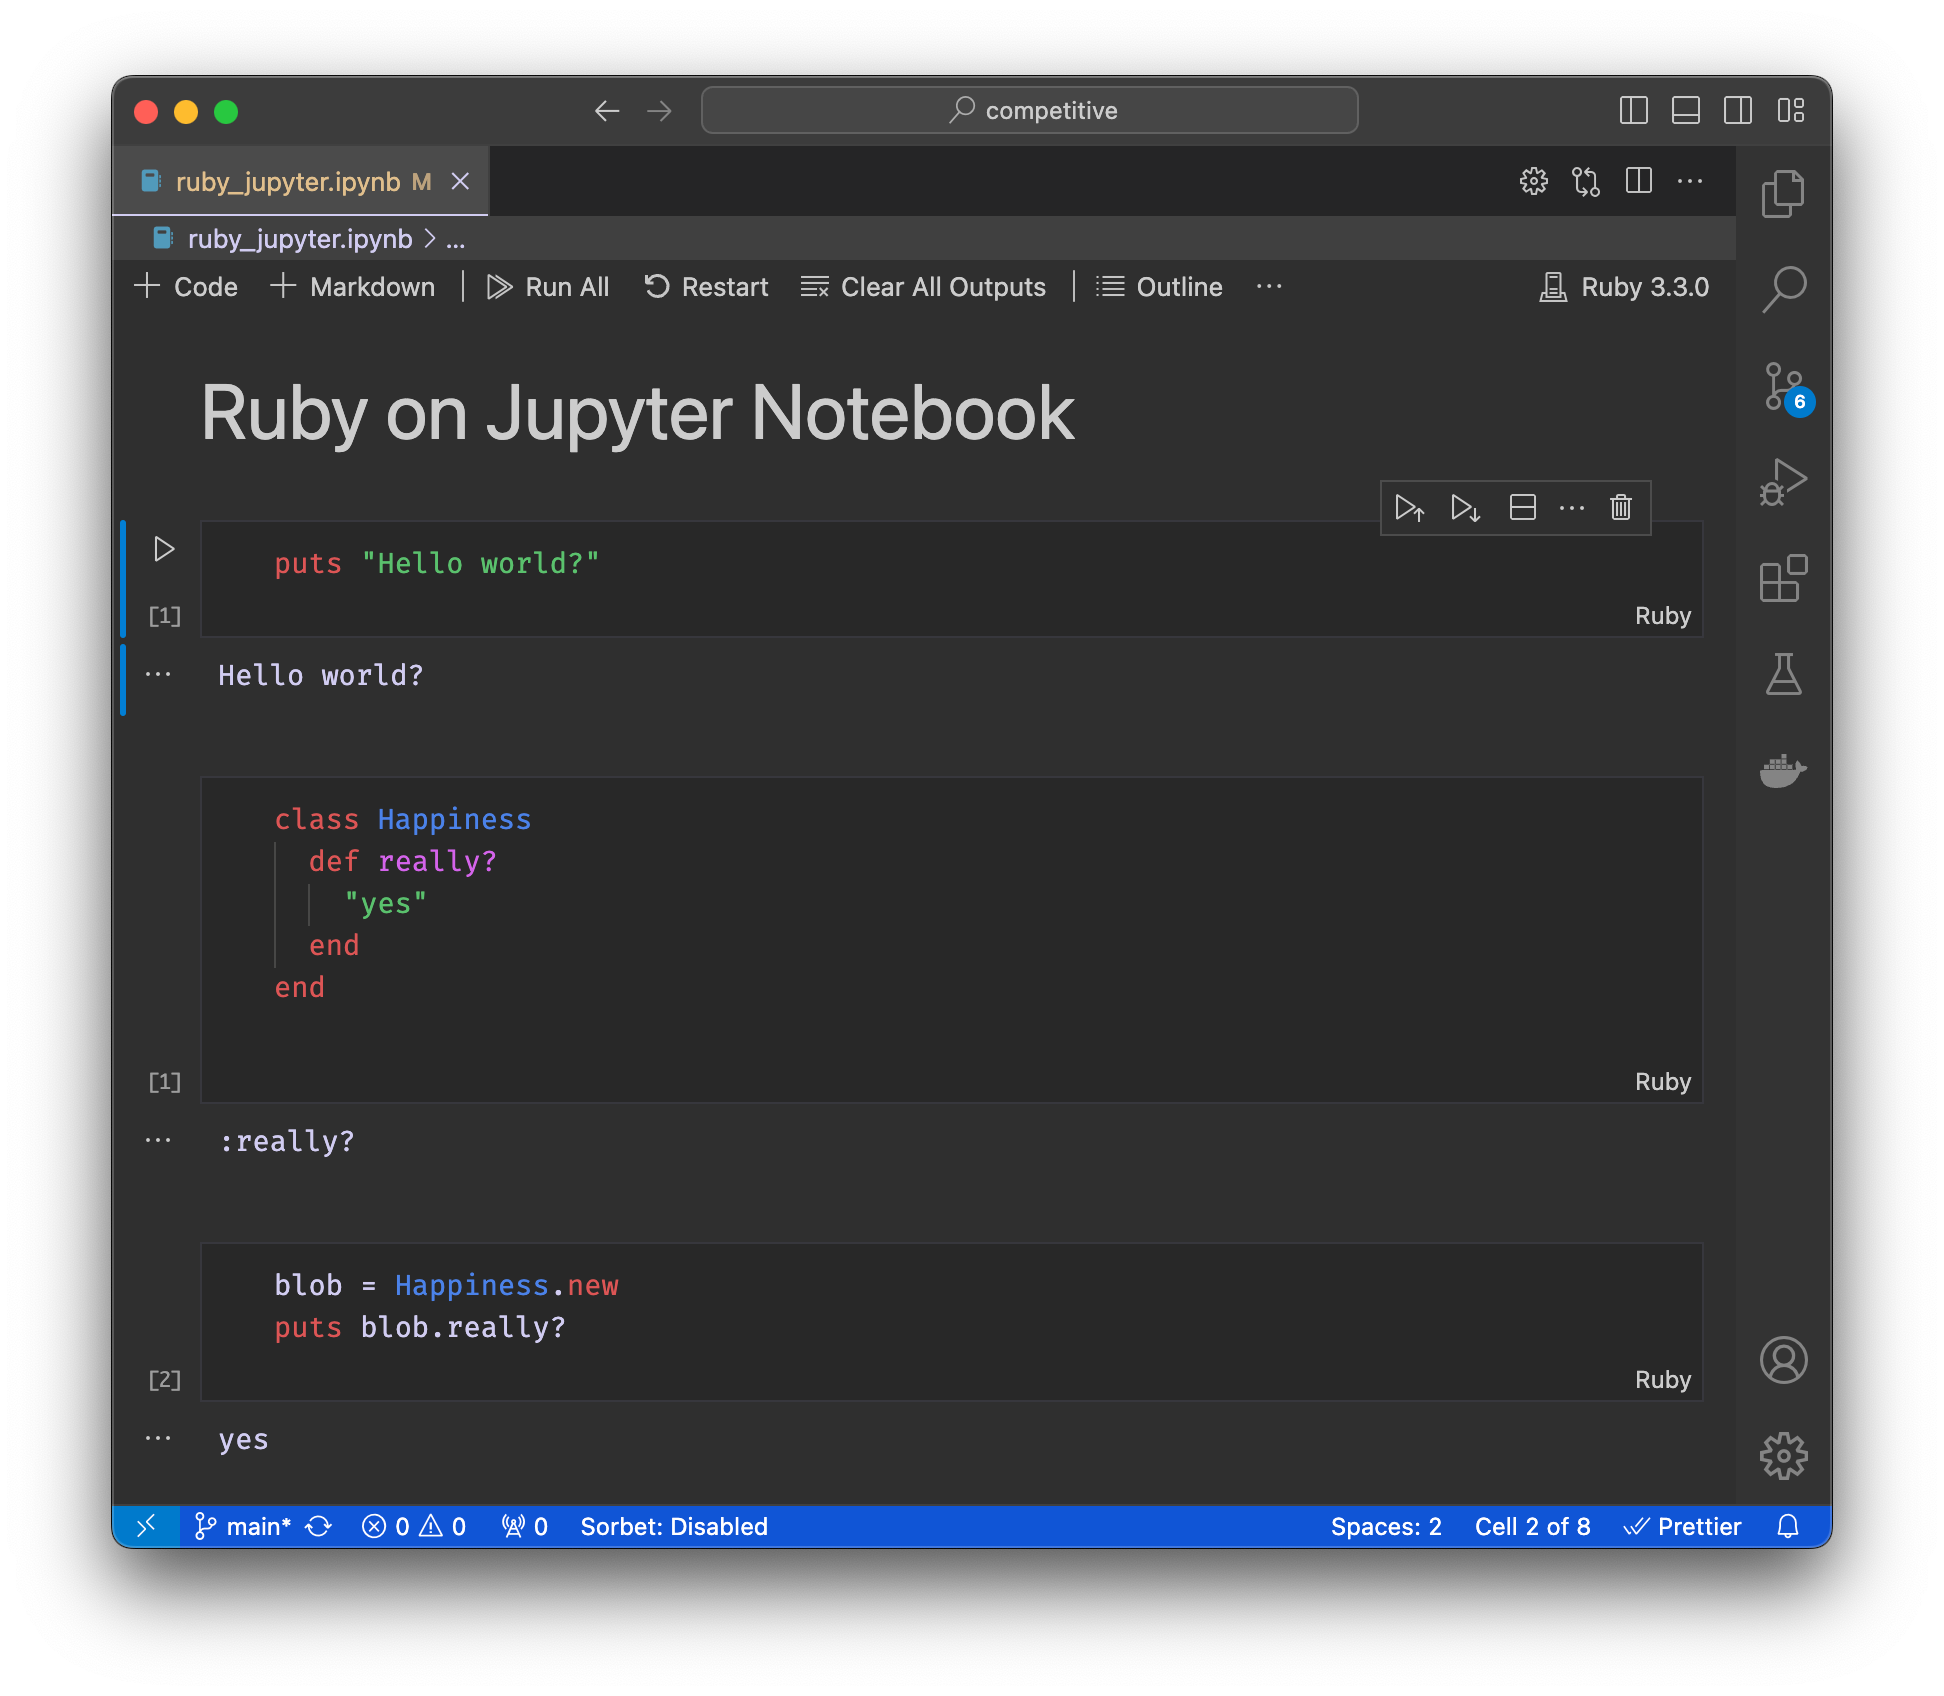
Recently I started using Jupyter Notebook for my quick tinkering in Ruby over more common methods of using IRB or a simple .rb file. I find it much more convenient to use a notebook that allows a seamless experience of writing multiline code (unlike IRB) and having my outputs visible after each block of code. Here is how it looks:
Setup Overview
Now let’s see how you can set it up. Here are all the commands to get running with Jupyter that supports Ruby as one of the programming kernels (along with Python).
pip install jupyter
gem install iruby
iruby register --force
That’s pretty much it for the setup. Let’s walk through each one of those in the next section.
Setup Details
Before we look at each of the above commands, let’s ensure that we are running the latest versions of all the tools. It is not required to use these latest versions but it is a good idea to have the latest ones for security and bug fixes that these updates provide. Here are the versions that I have:
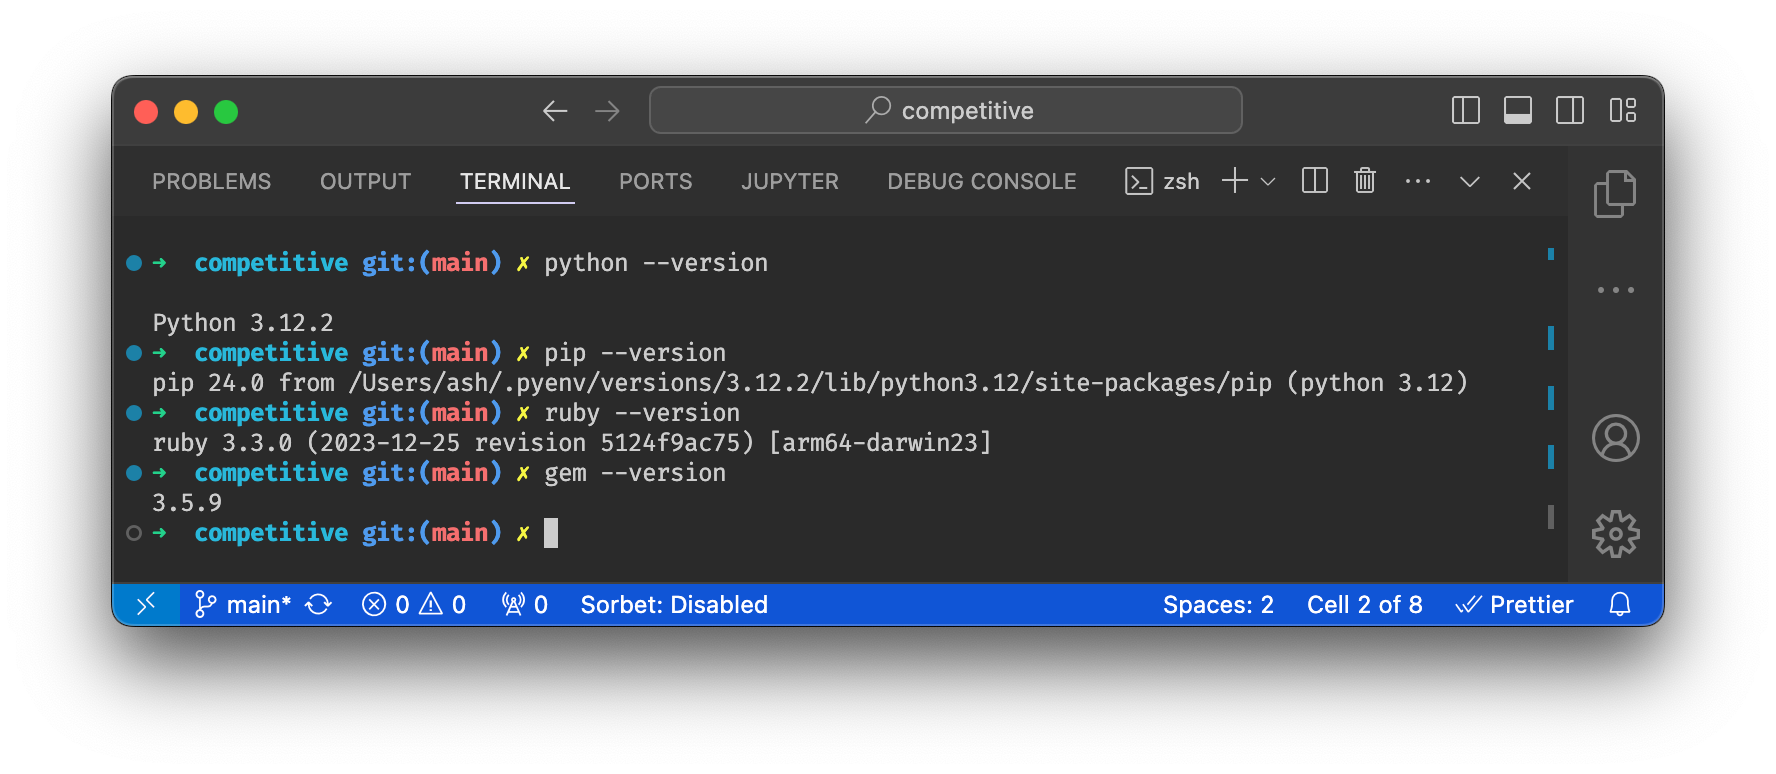
Python is 3.12.2, pip is 24.0, ruby is 3.3.0, and gem is 3.5.9.
pip install jupyter
This command installs Jupyter on your local machine. This is the main tool that provides us Jupyter server. On completion of this installation, you can start using Jupyter Notebook which will support Python out-of-the-box.
gem install iruby
This command installs the gem that provides a Ruby kernel for Jupyter Notebook. You can read more about it on their GitHub page.
iruby register --force
This command makes our iruby available to Jupyter. Once this registration is done, you can start the Jupyter server and see that it lists Ruby as one of the kernels.
Running the Notebook
Awesome! now that we are all set; let’s run it.
jupyter notebookThis will start a Jupyter server and open up UI for us in the browser. This is how it looks:

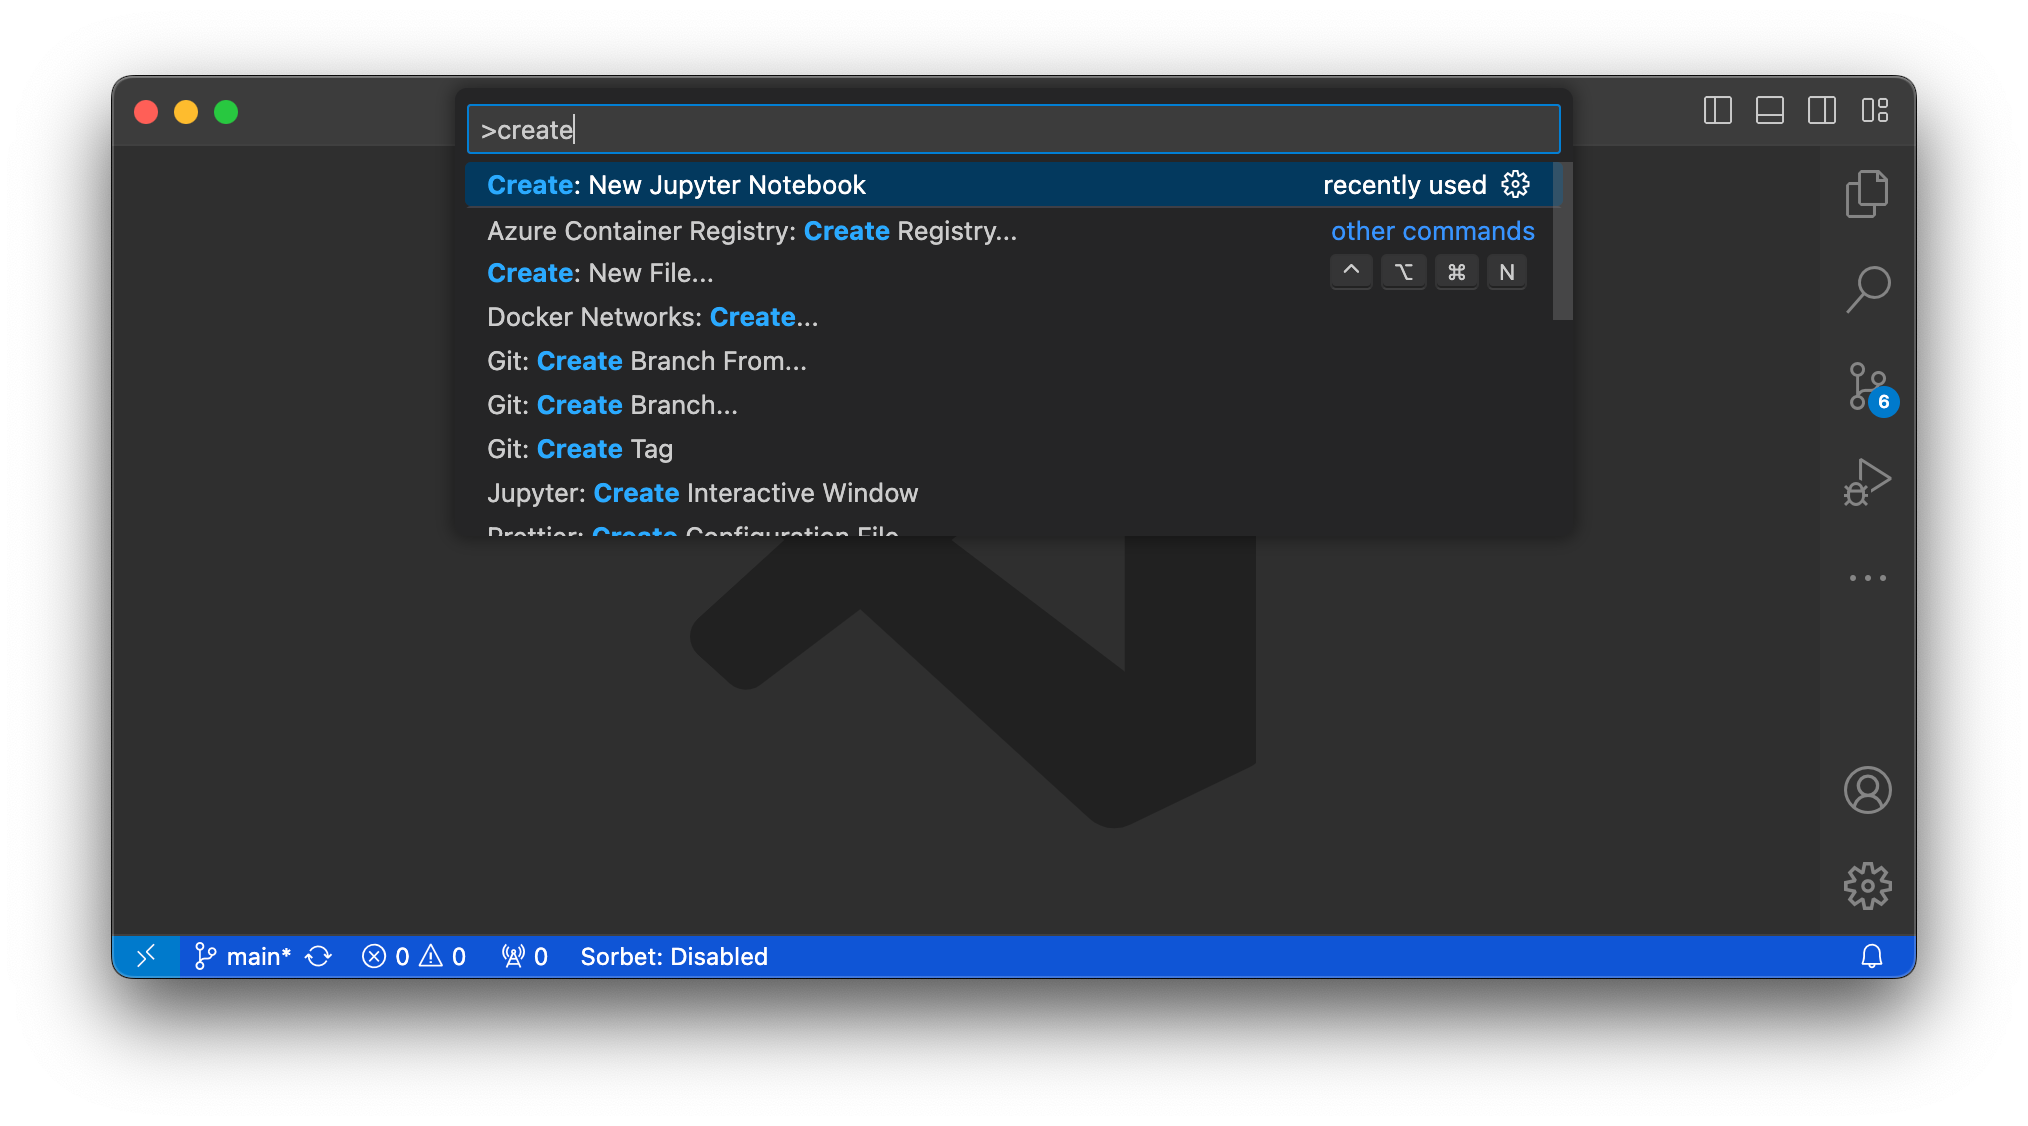
All good so far. You can also open Jupyter Notebook in VS Code. I prefer the Jupyter Notebook inside VS Code as it integrates well with all the other goodness of the VS Code. To open Jupyter Notebook in VS Code, open up the command prompt (`Ctrl+Shift+P` or `Cmd+Shift+P`) and type Create: New Jupyter Notebook
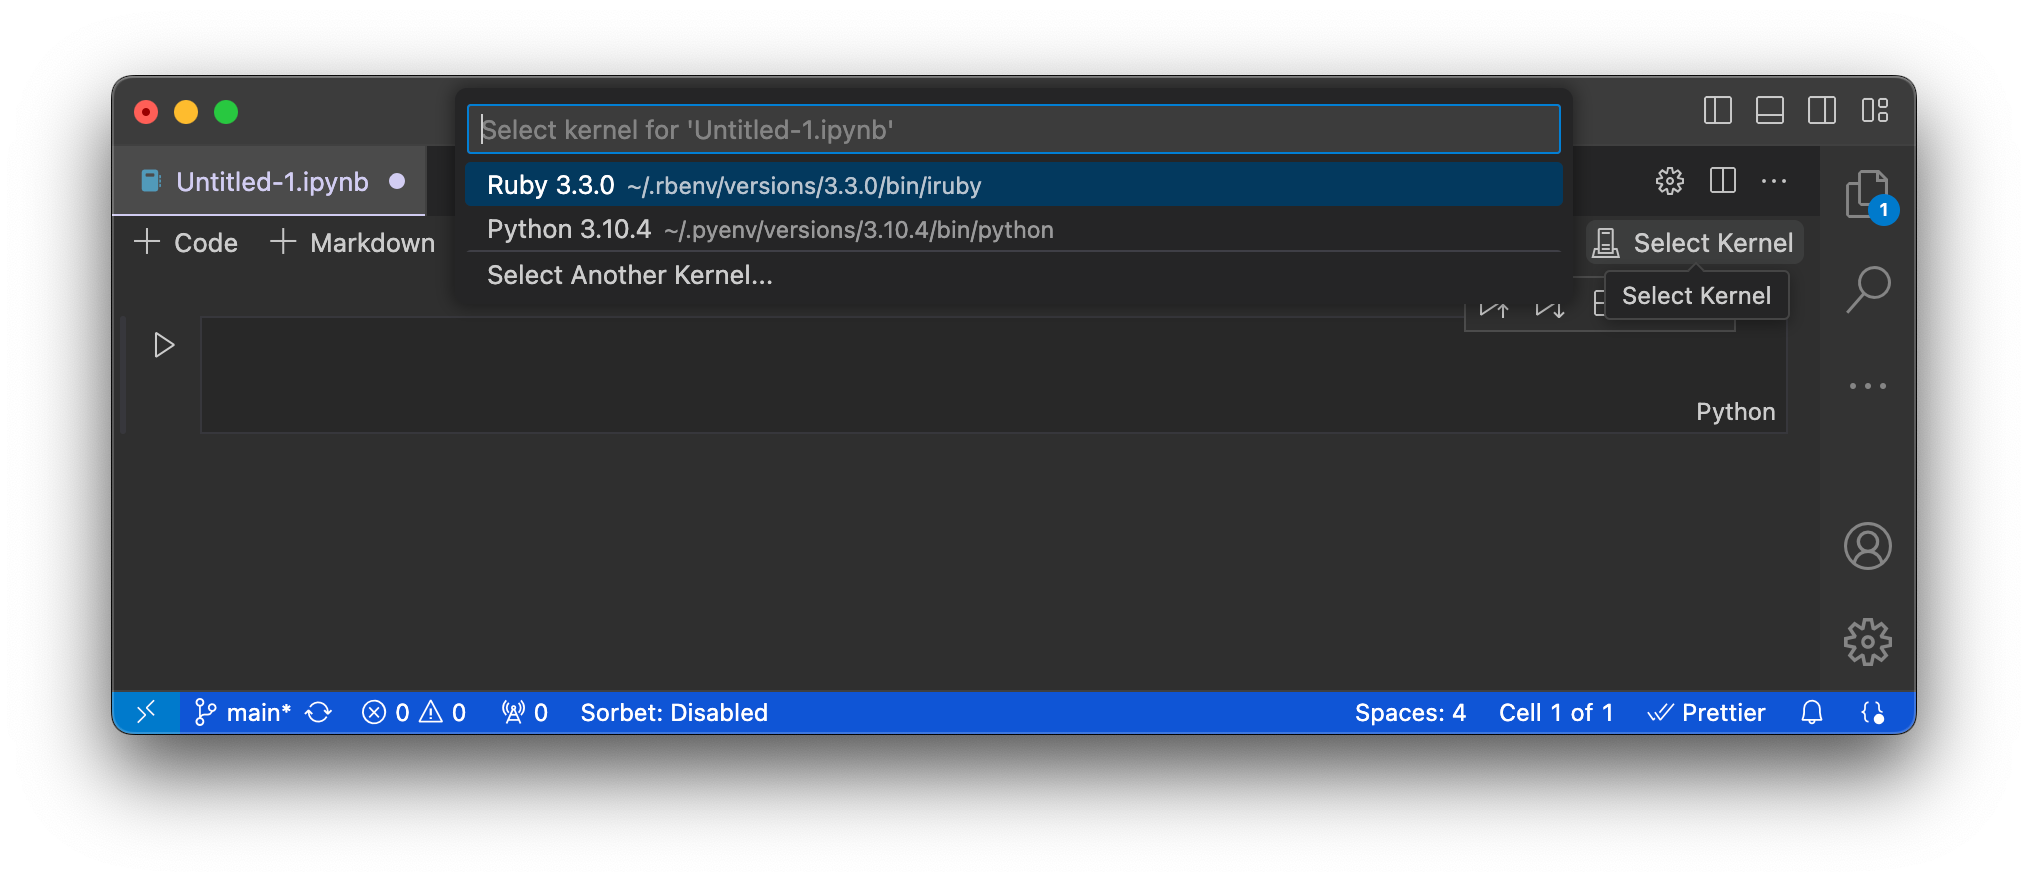
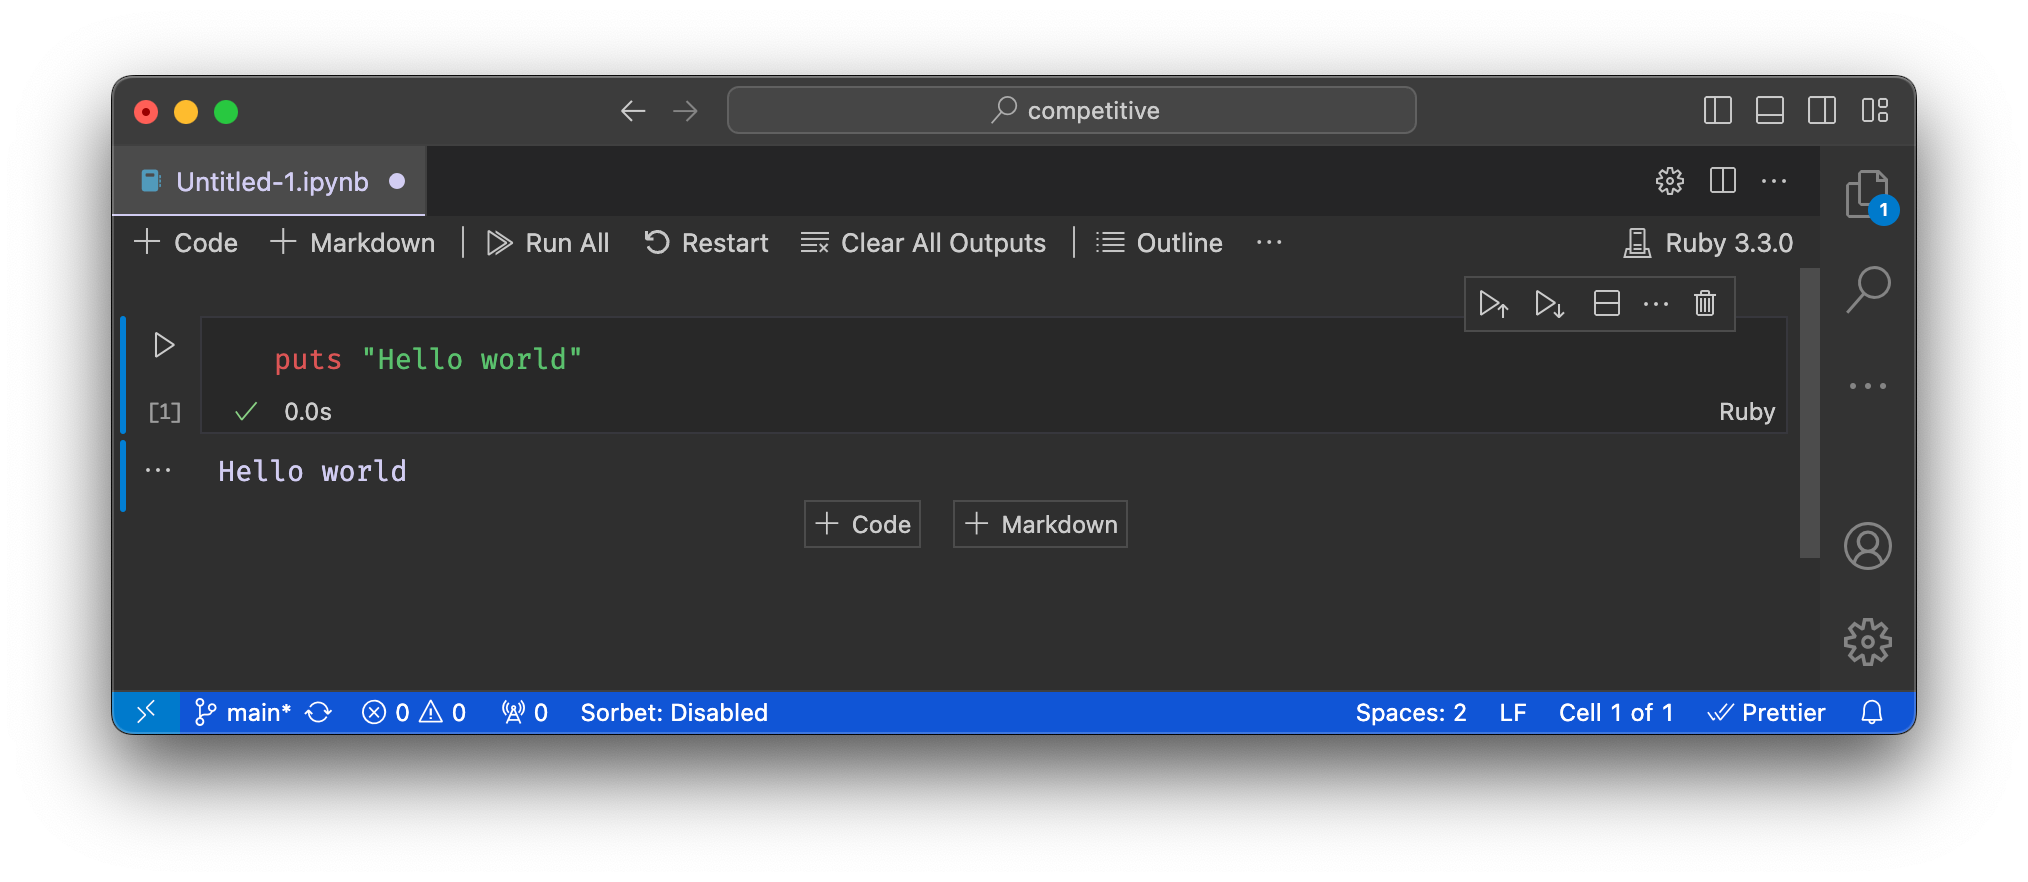
This will create a new notebook file. Now we have to select Ruby as our kernel. At the top right corner, there will be a button “Select Kernel”. If your Jupyter has a preselected kernel other than Ruby, then instead of “Select Kernel” you will see the name of that kernel such as “Python 3.12”. Click on that button and it will show you a list of available kernels to select from. Select our beloved programming language here “Ruby 3.3.0”.
Great. We have a Jupyter running on Ruby kernel that we can edit in VS Code. What could be better than this? Haha. Well, now let’s do our classic Hello World and feel the happiness.
👋🧑💻 That’s a wrap. Let me know how you find this article. Your feedback will help me write better and hopefully provide you with more value. Happy coding.